Red velvet cheesecake brownies became my signature Valentine’s treat one year after I wanted something a little more dramatic than plain brownies but not as time-consuming as a layered cake. I remember pulling out cream cheese and cocoa powder at the same time and wondering what magic might happen if I swirled the two together. What came out of the oven was rich, gooey, and absolutely gorgeous – those red and white swirls were love at first sight.
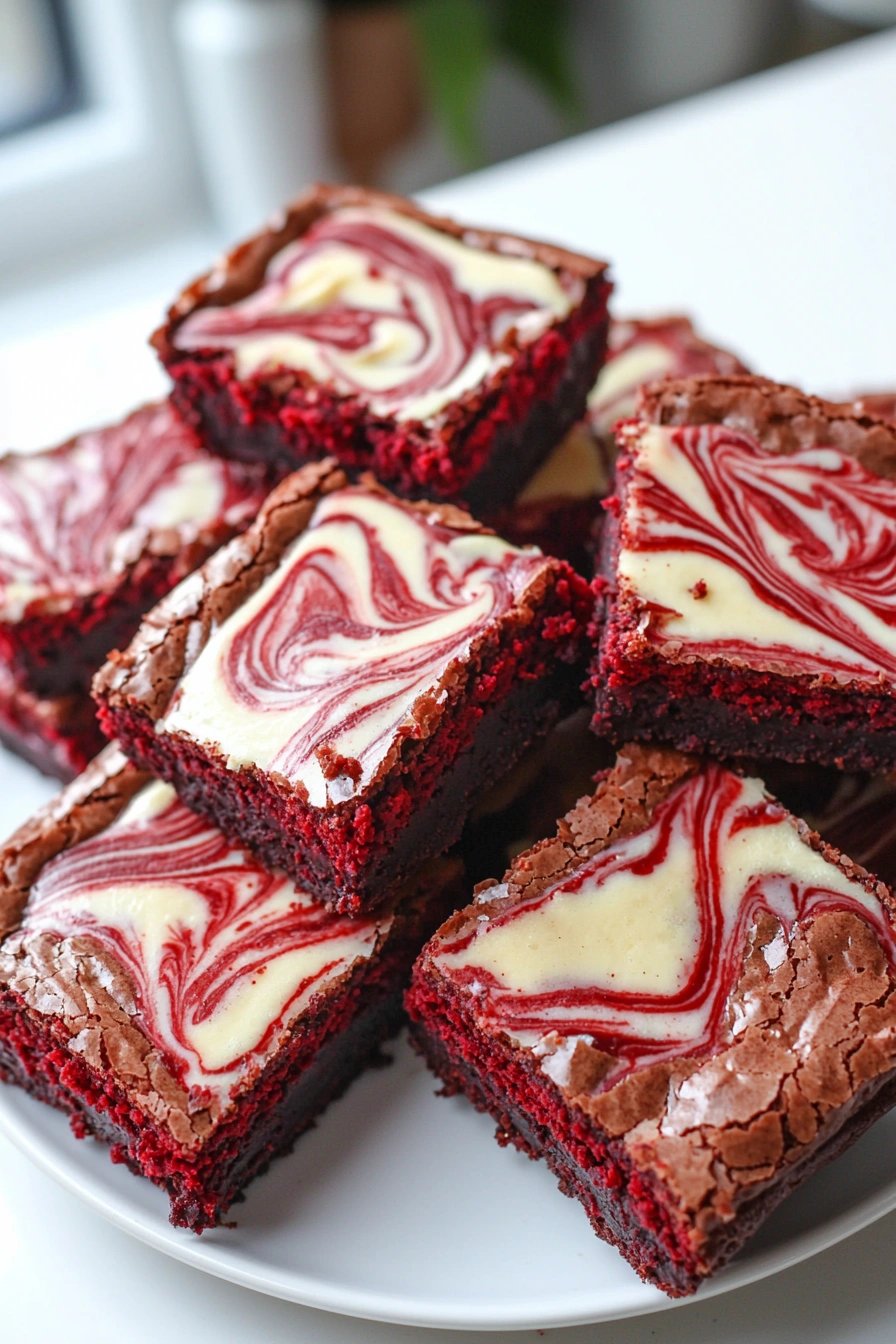
Since then, these brownies have been a year-round favorite whenever I want something bold and indulgent without a lot of fuss. The red velvet base is deeply chocolatey and tender while the cheesecake layer adds creamy tang that cuts through the richness. Plus, they look so impressive that everyone assumes they took hours to make – and I never mind letting them think that.
Ingredients
Here’s what I use for this recipe. You can always make substitutions if you prefer!
- All-purpose flour – Provides structure for the brownie base
- Unsweetened cocoa powder – Adds rich chocolate depth to the red velvet layer
- Granulated sugar – Sweetens both the brownie and cheesecake layers
- Eggs – Bind the batter and give both layers their fudgy or creamy textures
- Butter – Adds richness and moisture to the brownies
- Red food coloring – Gives that classic red velvet color
- Vanilla extract – Enhances flavor throughout
- White vinegar – Reacts with cocoa powder to deepen the red velvet hue
- Cream cheese – The star of the swirl, it brings tangy creaminess to balance the chocolate
- Salt – Enhances sweetness and rounds out the flavor
Tools You’ll Need
- Mixing bowls – For preparing each batter layer
- Hand mixer or stand mixer – To cream the cheesecake layer smoothly
- Whisk and spatula – For mixing the brownie batter and swirling the layers
- Measuring cups and spoons – For accuracy in proportions
- 8×8 or 9×9-inch baking pan – For baking the brownie evenly
- Parchment paper – To make removing the brownies clean and easy
- Toothpick or knife – For swirling the cheesecake into the brownie batter
Instructions
Step 1: Preheat and prepare
I preheat my oven to 350°F (175°C) and line an 8×8-inch pan with parchment paper, leaving a little overhang on the sides for easy lifting later.
Step 2: Make the brownie batter
In a bowl, I melt the butter and stir in sugar, cocoa powder, eggs, red food coloring, vanilla extract, and a splash of vinegar. Then I fold in flour and salt until just combined, being careful not to overmix.
Step 3: Make the cheesecake batter
In another bowl, I beat the softened cream cheese with sugar, an egg, and a splash of vanilla until smooth and creamy.
Step 4: Layer and swirl
I pour about ¾ of the red velvet brownie batter into the prepared pan, then gently spread the cheesecake mixture over it. I dollop the remaining brownie batter on top and use a toothpick or butter knife to swirl the two layers together in figure-eights.
Step 5: Bake
I bake the brownies for 30–35 minutes, or until the edges are set and the center is just slightly jiggly. I avoid overbaking so the cheesecake stays soft.
Step 6: Cool and chill
Once out of the oven, I let them cool completely in the pan, then refrigerate for at least 2 hours before slicing for cleaner cuts and better flavor.
📌 Love Home Recipes? Follow Me on Pinterest!
Join thousands of others for daily Sweet home Recipes and creative ideas.
Follow Me on PinterestTips
For cleaner swirls, I spoon on small bits of batter rather than pouring it
Chilling before slicing makes the layers firm and neat – totally worth the wait
I sometimes add white chocolate chips to the brownie layer for a sweeter twist
A dusting of powdered sugar on top before serving adds a pretty finish
Ways to Serve
Cut into small squares for a dessert platter at parties
Paired with a scoop of vanilla ice cream for an over-the-top treat
Served chilled with a cup of coffee or hot cocoa for cozy evenings
Frequently Asked Questions
Can I make Red Velvet Cheesecake Brownies ahead of time?
Yes, and they’re actually better after chilling overnight! They slice neater and taste even more balanced.
Do I have to use food coloring in Red Velvet Cheesecake Brownies?
No, it’s optional. The brownies will still taste great without it – they’ll just be more cocoa-colored.
Can I double this recipe?
Absolutely! Just use a 9×13-inch pan and extend the baking time by about 10 minutes.
How should I store Red Velvet Cheesecake Brownies?
Store them in the fridge in an airtight container for up to 5 days. You can also freeze them individually wrapped.
See You in the Kitchen
I hope you fall in love with these red velvet cheesecake brownies just like I did! They’re bold, beautiful, and completely irresistible. Don’t forget to save the recipe or share it with someone who needs a new dessert favorite – and tag me if you bake them!
Happy Cooking!
Print
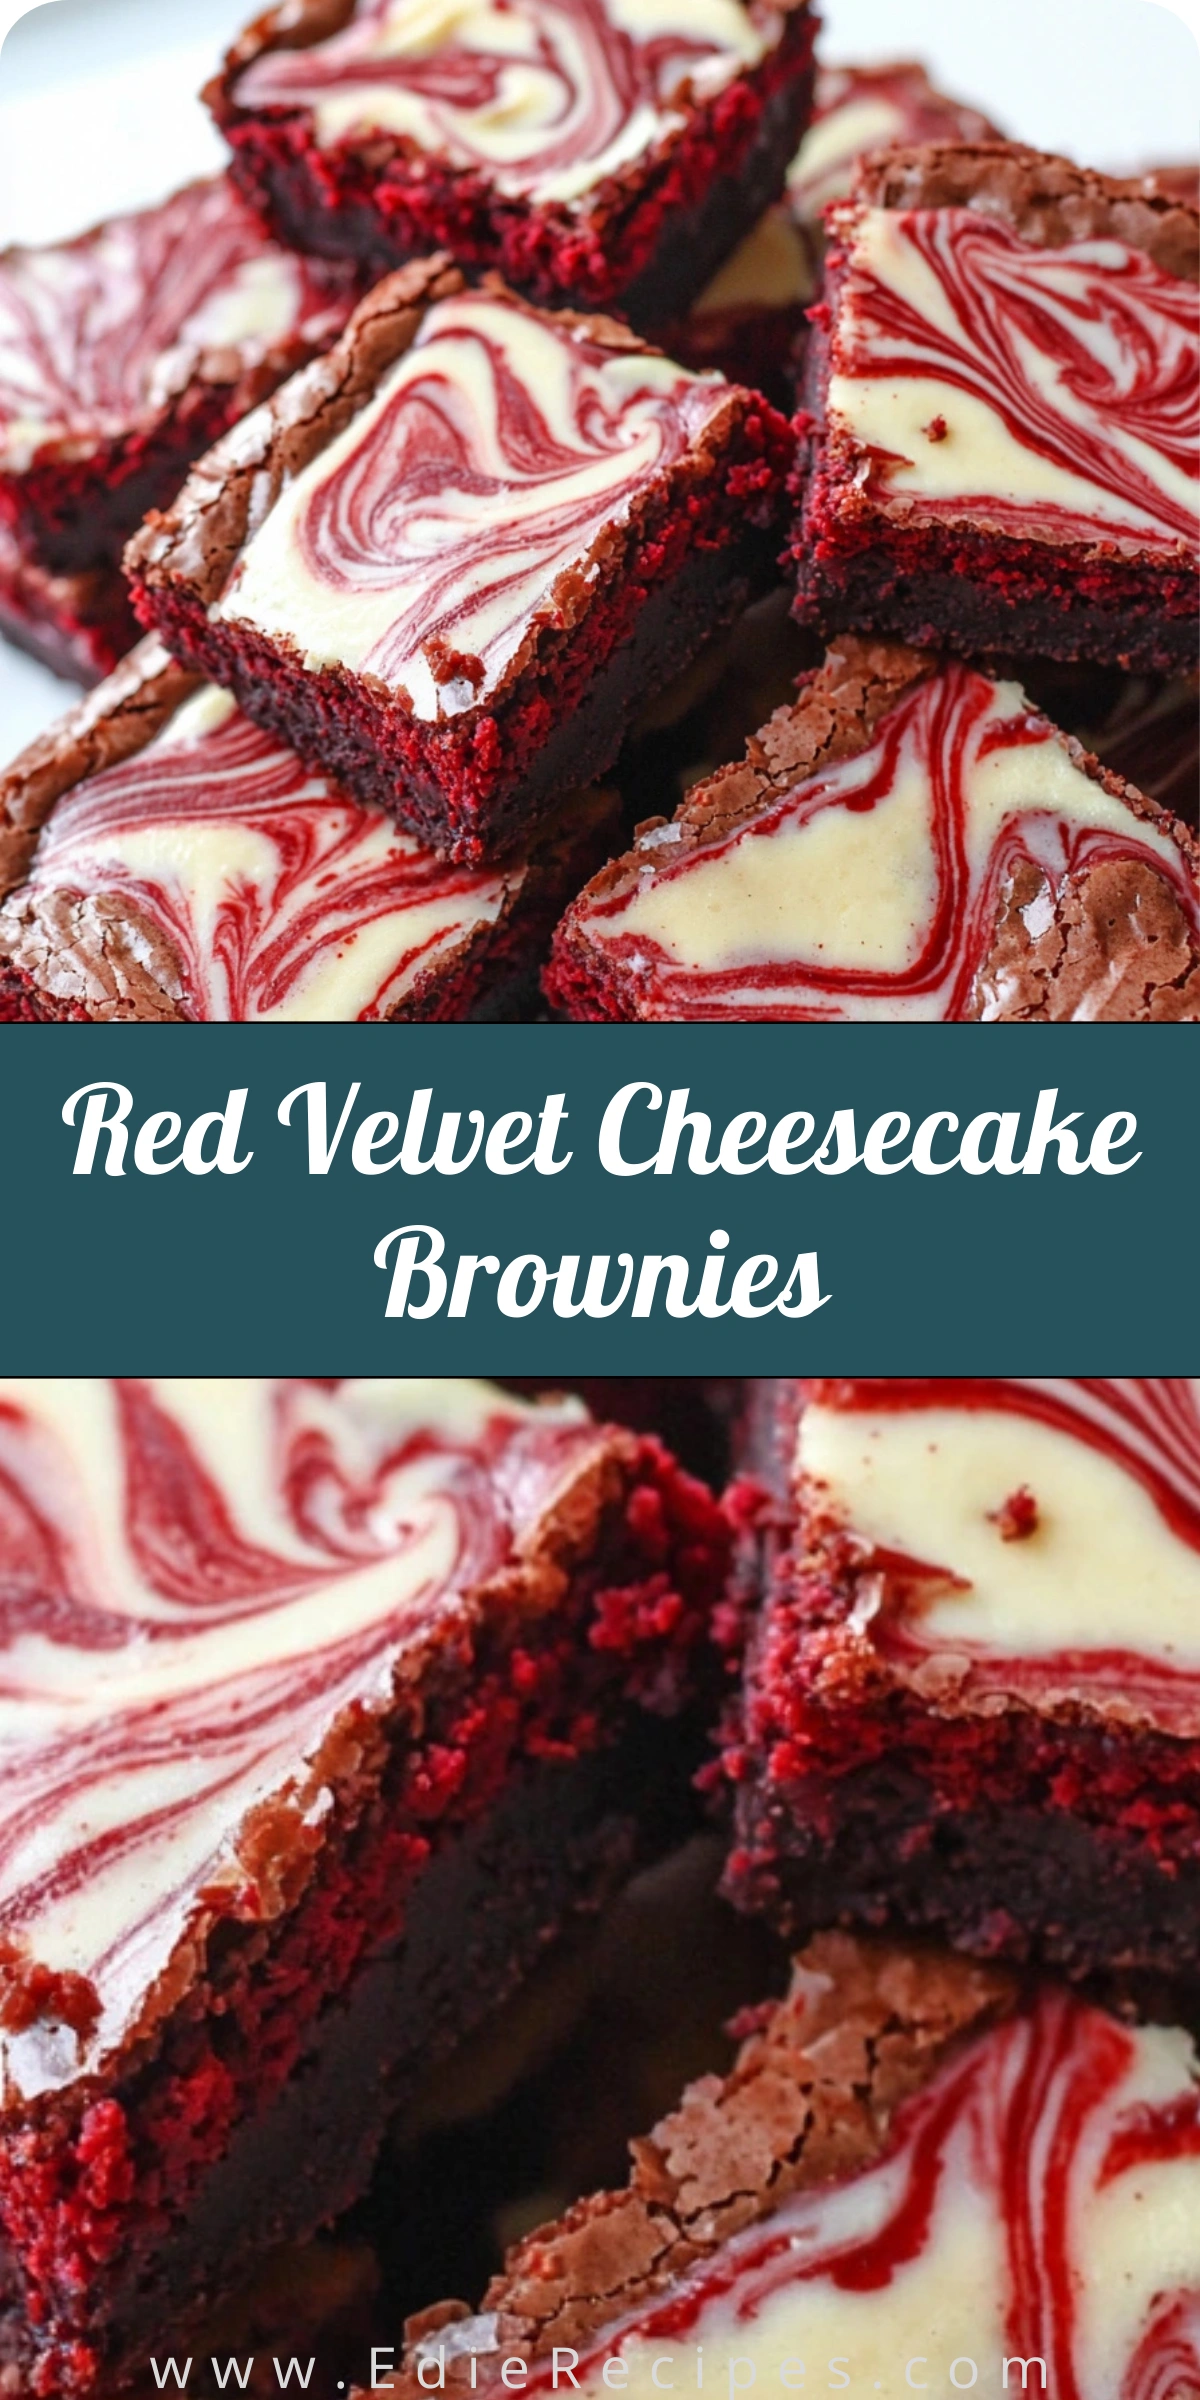
Red Velvet Cheesecake Brownies
- Total Time: 3 hours (includes chilling)
- Yield: 16 brownies
- Diet: Vegetarian
Description
Looking for easy red velvet dessert ideas? These red velvet cheesecake brownies are quick simple and the best for holidays or parties! Fudgy rich and creamy with gorgeous swirls they’re healthy-ish and totally crowd-pleasing. Great for Valentine’s Day or anytime baking!
Ingredients
- 3/4 cup all-purpose flour
- 1/4 cup unsweetened cocoa powder
- 1/2 tsp salt
- 1/2 cup unsalted butter (melted)
- 1 cup granulated sugar
- 2 large eggs
- 1 tbsp red food coloring
- 1 tsp vanilla extract
- 1/2 tsp white vinegar
- 8 oz cream cheese (softened)
- 1/4 cup granulated sugar (for cheesecake layer)
- 1 large egg (for cheesecake layer)
- 1/2 tsp vanilla extract (for cheesecake layer)
Instructions
- Preheat oven to 350°F (175°C) and line an 8×8-inch pan with parchment paper.
- Mix melted butter, sugar, eggs, food coloring, vanilla, and vinegar in a bowl. Stir in cocoa powder, flour, and salt.
- In another bowl, beat cream cheese, sugar, egg, and vanilla until smooth.
- Spread most of the brownie batter in the pan. Top with cheesecake mixture.
- Add remaining brownie batter in dollops and swirl with a knife.
- Bake for 30–35 minutes or until set around edges but slightly soft in center.
- Cool completely, then chill for 2+ hours before slicing.
Notes
- Chill before slicing for clean layers.
- Skip food coloring if preferred – it won’t affect flavor.
- Double the recipe for a crowd using a 9×13-inch pan.
- Store in fridge for best texture.
- Prep Time: 20 minutes
- Cook Time: 35 minutes
- Category: Dessert
- Method: Baking
- Cuisine: American