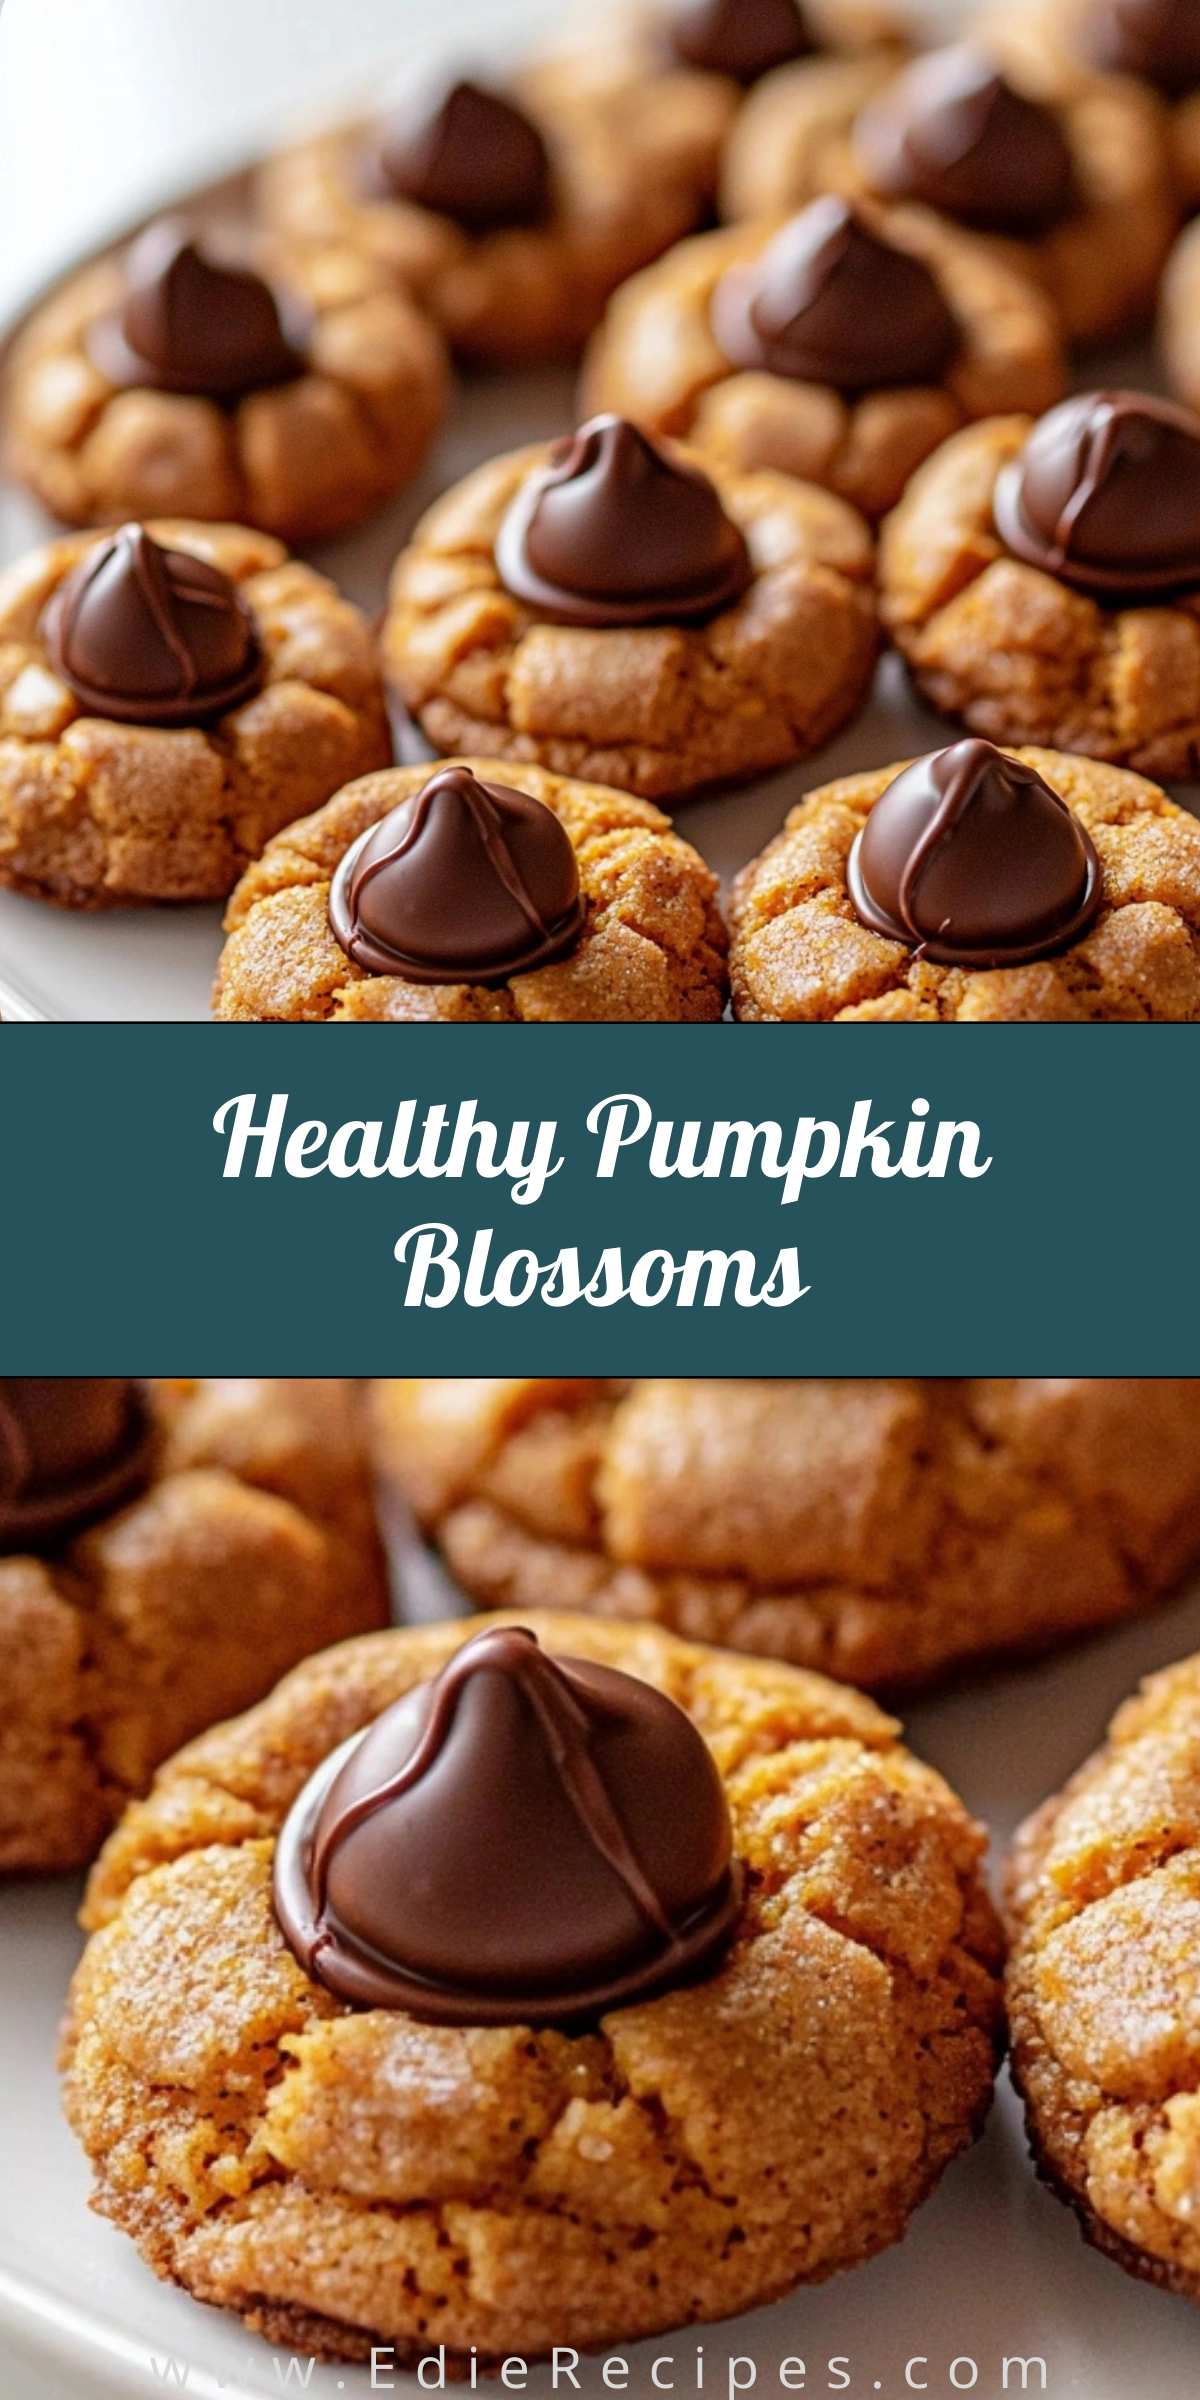
Healthy Pumpkin Blossoms always bring me back to the crisp mornings of early fall when the air smells like cinnamon and leaves crunch underfoot and one year I decided to experiment with something festive yet better for you and that’s how these cookies were born. I had a bit of leftover pumpkin puree in the fridge and rather than making another loaf of pumpkin bread I thought why not turn it into something playful and snackable?
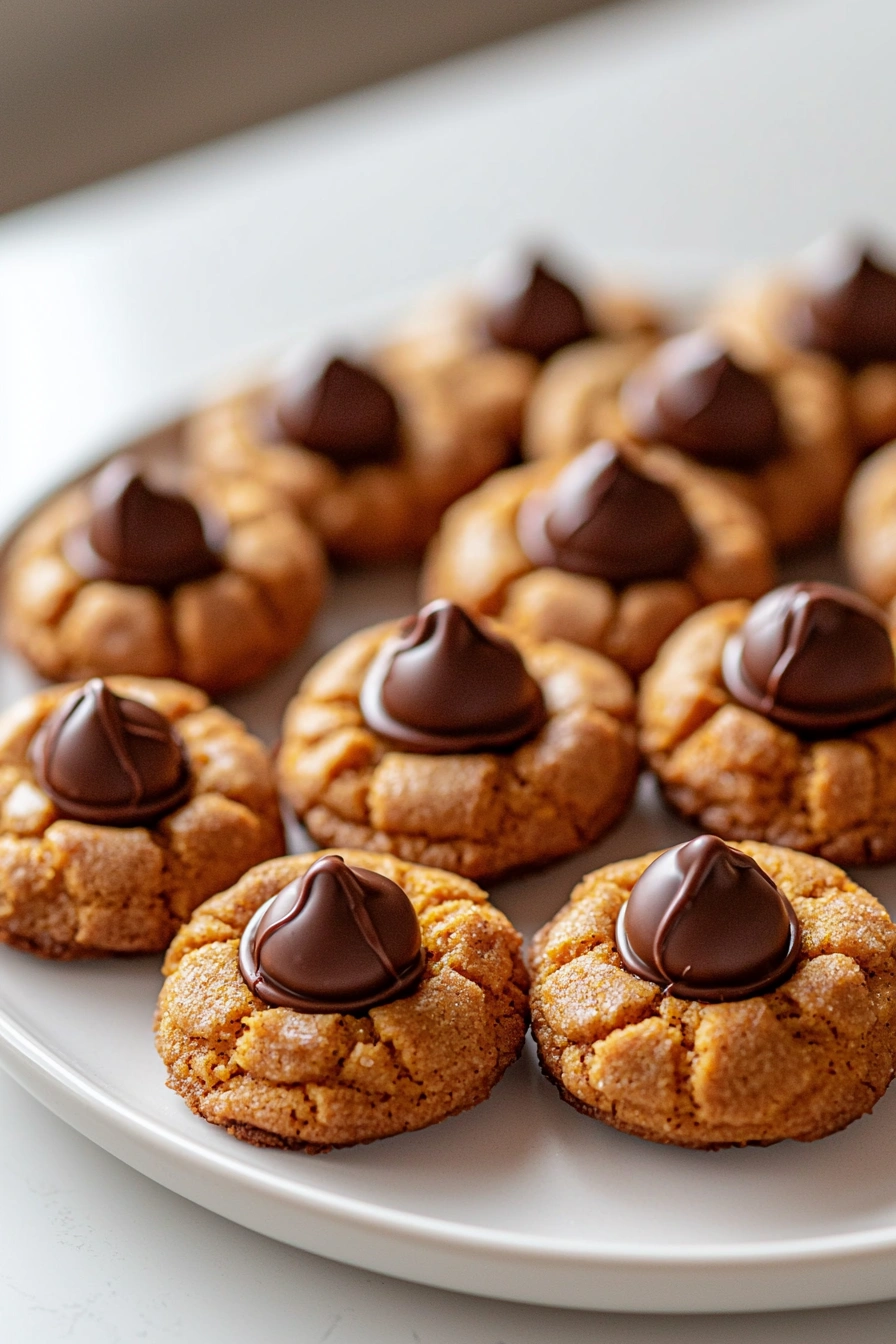
Since then these cookies have become one of my seasonal staples and they’re especially popular at school parties and cozy coffee dates and I love how they come together so easily with minimal fuss and maximum flavor. With just the right balance of spice and a silky chocolate kiss on top these healthier pumpkin blossoms feel like a treat but still align with my feel-good baking goals.
Did you make this recipe? Please leave a star rating and review in the form below. I appreciate your feedback, and it helps others, too!
Ingredients
Here’s what I use for this recipe. You can always make substitutions if you prefer!
- Pumpkin puree – Adds moisture and natural sweetness while replacing most of the fat.
- Almond flour – A wholesome flour alternative that keeps the cookies gluten-free.
- Maple syrup – Naturally sweetens the dough and adds a warm, rich depth.
- Egg – Helps bind the ingredients and adds a bit of lift.
- Baking soda – Gives the cookies a light, soft texture.
- Pumpkin pie spice – Delivers cozy, classic fall flavor in every bite.
- Vanilla extract – Enhances the pumpkin and spice flavors beautifully.
- Dark chocolate kisses – A fun finishing touch that melts into the warm cookies.
Tools You’ll Need
- Mixing bowl – Where I stir everything together with ease.
- Whisk or spatula – I use these to mix the dough until smooth.
- Measuring cups & spoons – Essential for getting the right ingredient balance.
- Baking sheet – For evenly baking the cookies to golden perfection.
- Parchment paper – Helps prevent sticking and makes cleanup super easy.
- Cooling rack – I let the cookies cool here so the chocolate can set just right.
“Cook and bake with love. Taste as you go, and make every recipe your own.”
Instructions
Step 1: Preheat the Oven
I start by preheating the oven to 350°F and lining a baking sheet with parchment paper to keep the cookies from sticking.
Step 2: Mix Wet Ingredients
In a large bowl I whisk together the pumpkin puree, maple syrup, egg, and vanilla extract until everything is smooth and well combined.
Step 3: Add Dry Ingredients
Then I stir in the almond flour, pumpkin pie spice, baking soda, and a pinch of salt until a thick dough forms. It may look sticky but that’s exactly what we want.
Step 4: Shape the Dough
Using a small cookie scoop or spoon I form balls of dough and roll each one lightly in coconut sugar for a little sparkle then I place them spaced out on the baking sheet.
Step 5: Bake
I bake them for 10–12 minutes until they’re just set around the edges and slightly soft in the center. They’ll firm up as they cool.
Step 6: Add Chocolate Kisses
Right after I remove the cookies from the oven I gently press a chocolate kiss into the center of each one and I let them cool completely on a rack before enjoying.
📌 Love Home Recipes? Follow Me on Pinterest!
Join thousands of others for daily Sweet home Recipes and creative ideas.
Follow Me on PinterestTips
If you want an extra-spiced flavor I sometimes add a dash of ground ginger or cloves to the dough. You can swap the almond flour with oat flour for a nut-free version and I’ve even used dairy-free chocolate kisses to keep them vegan for friends. And if you chill the dough for 30 minutes before baking the cookies hold their shape even better.
Ways to Serve
These are amazing with a hot mug of chai or coffee and they’re perfect for lunchbox treats or afternoon pick me ups. I also love adding them to holiday cookie boxes they look adorable and taste like fall in every bite. For parties I’ll even serve them slightly warm with a scoop of vanilla frozen yogurt.
Frequently Asked Questions
Can I make Healthy Pumpkin Blossoms in advance?
Yes! They keep well in an airtight container at room temperature for up to 3 days or in the fridge for a week.
Are Healthy Pumpkin Blossoms gluten-free?
They are when made with almond flour or certified gluten-free oat flour.
Can I freeze Healthy Pumpkin Blossoms?
Definitely! Just freeze the baked cookies in layers with parchment in between and thaw at room temperature when ready to enjoy.
See You in the Kitchen
I hope you give these Healthy Pumpkin Blossoms a try! They’re soft spiced and filled with joy in every bite and I’d love to hear how they turned out for you. Drop me a note or snap a photo to share and don’t forget to save this recipe for your next fall baking day.
Happy Cooking!
Print
Healthy Pumpkin Blossoms
- Total Time: 22 minutes
- Yield: 20 cookies
- Diet: Gluten Free
Description
These healthy pumpkin blossoms are easy quick and gluten free perfect for fall parties or cozy baking ideas at home!
Ingredients
- 1/2 cup pumpkin puree
- 1 1/4 cups almond flour
- 1/4 cup maple syrup
- 1 egg
- 1/2 tsp baking soda
- 1 tsp pumpkin pie spice
- 1 tsp vanilla extract
- Dark chocolate kisses
- Optional: coconut sugar for rolling
Instructions
- Preheat oven to 350°F and line a baking sheet with parchment paper.
- In a bowl, whisk together pumpkin puree, maple syrup, egg, and vanilla until smooth.
- Add almond flour, pumpkin pie spice, baking soda, and a pinch of salt. Mix until dough forms.
- Roll dough into balls and coat in coconut sugar if using. Place on the baking sheet.
- Bake for 10–12 minutes until edges are set.
- Immediately press a chocolate kiss into the center of each cookie.
- Let cool completely on a wire rack before serving.
Notes
- Use oat flour for a nut-free option.
- Chill dough for 30 minutes for better shape.
- Swap dark chocolate kisses for dairy-free if needed.
- Store in fridge or freezer for longer freshness.
- Prep Time: 10 minutes
- Cook Time: 12 minutes
- Category: Cookies
- Method: Baking
- Cuisine: American