Red velvet cake was the star of the very first baking contest I ever entered and I can still remember nervously smoothing the final layer of cream cheese frosting while my hands shook with excitement. Red velvet cake wasn’t just delicious that day it became a symbol of confidence and joy and when I won second place I knew it would be a recipe I’d carry with me forever.
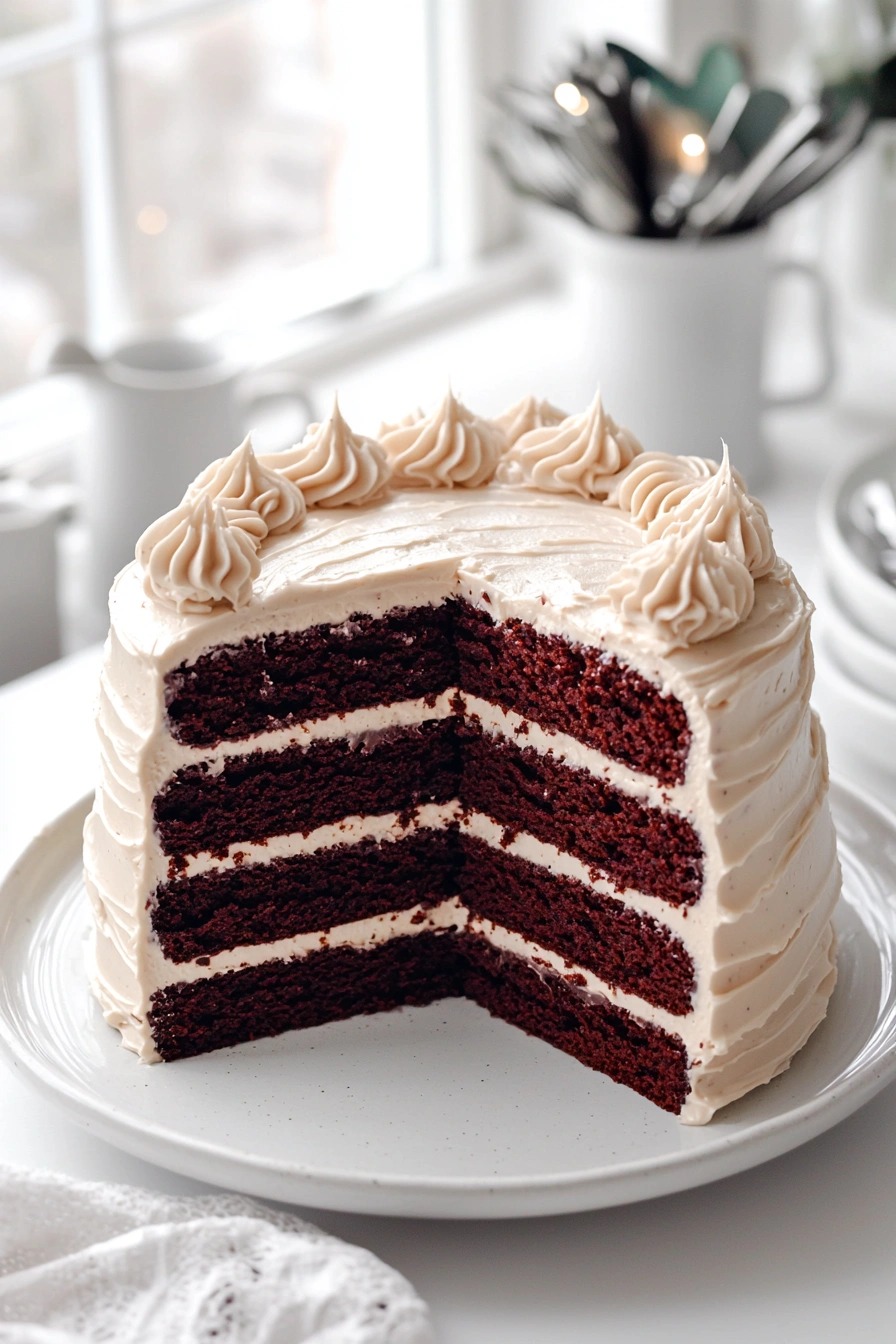
Now I make this red velvet cake for birthdays holidays and cozy weekends when we want something decadent and beautiful on the table. I love the rich cocoa flavor the deep crimson color and the soft tang of the frosting that brings it all together in each slice. Whether you’re baking for a celebration or just because this cake never fails to make the moment feel a little more special.
Ingredients :
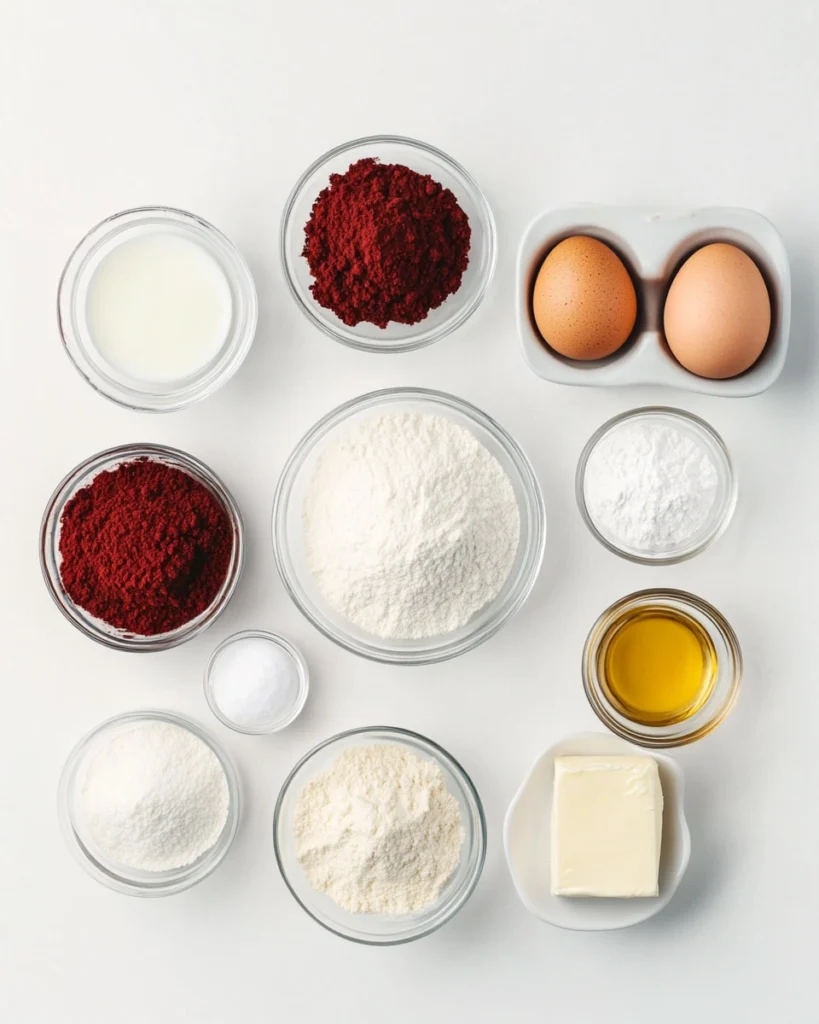
Here’s what I use for this recipe. You can always make substitutions if you prefer!
- All-purpose flour – The base of the cake structure and crumb.
- Cocoa powder – Adds a subtle chocolate flavor without overpowering.
- Baking soda – Helps the cake rise and stay fluffy.
- Buttermilk – Gives the cake its signature tang and soft texture.
- White vinegar – Reacts with baking soda to boost the rise.
- Granulated sugar – Sweetens the cake perfectly.
- Eggs – Binds the batter and adds richness.
- Vegetable oil – Keeps the cake moist and tender.
- Vanilla extract – Enhances the overall flavor and warmth.
- Red food coloring – Provides that vibrant iconic hue.
- Cream cheese – The heart of the frosting’s tangy sweetness.
- Butter – Adds richness and smoothness to the frosting.
- Powdered sugar – Sweetens and thickens the frosting.
Tools You’ll Need
- Mixing bowls – For combining the dry and wet ingredients separately.
- Hand mixer or stand mixer – Makes blending the batter and whipping the frosting easier.
- Measuring cups and spoons – For accuracy in both cake and frosting.
- Cake pans – I like using three or four 8-inch round pans for even layers.
- Cooling rack – Helps the cakes cool evenly before frosting.
- Offset spatula – Essential for spreading the frosting smoothly between layers.
“Cook and bake with love. Taste as you go, and make every recipe your own.”
Instructions
Step 1: Preheat and Prep
I start by preheating my oven to 350°F and greasing my cake pans. I also line the bottoms with parchment paper for easy removal.
Step 2: Mix Dry Ingredients
In one bowl I whisk together the flour, cocoa powder, baking soda, and a pinch of salt. This helps distribute everything evenly.
Step 3: Combine Wet Ingredients
In another bowl I beat the eggs, sugar, oil, and vanilla extract. Then I stir in the buttermilk and red food coloring until everything is smooth and vibrant.
Step 4: Add the Vinegar
Just before combining the wet and dry, I mix in the vinegar to activate the baking soda—it’s a small step but it makes the cake rise beautifully.
Step 5: Combine and Bake
I gently stir the dry mixture into the wet until just combined, then divide the batter between my prepared pans and bake for 25–30 minutes. I check with a toothpick to ensure they’re done.
Step 6: Make the Frosting
While the cakes cool, I whip the softened cream cheese and butter together until smooth. Then I add vanilla and gradually beat in powdered sugar until fluffy.
Step 7: Assemble the Cake
Once the layers are fully cooled, I spread the cream cheese frosting between them and smooth it all over the top and sides. I like to pipe little swirls on top for a pretty finish.
📌 Love Home Recipes? Follow Me on Pinterest!
Join thousands of others for daily Sweet home Recipes and creative ideas.
Follow Me on PinterestTips
If you want to make it extra special, I suggest using gel food coloring for a richer red tone and not overbaking so the cake stays moist. You can also add a hint of espresso powder to deepen the cocoa flavor or fill the layers with raspberry jam for a fruity twist. Chilling the cake before slicing helps it cut cleanly and beautifully too.
Ways to Serve
Serve chilled or room temp with coffee or tea for a classic pairing.
Add fresh berries between layers for extra color and brightness.
Make it into cupcakes or mini cakes for parties and events.
Use edible gold or chocolate curls for a glam holiday version.
Frequently Asked Questions
Can I use natural food coloring instead of red dye?
Yes you can use beet powder or natural alternatives though the color may be softer.
Can red velvet cake be made ahead?
Absolutely! I often bake the layers a day ahead and frost the next day for easy prep.
Is red velvet cake chocolate cake?
Not exactly it has cocoa in it but the tang from buttermilk and vinegar makes it unique.
Can I freeze red velvet cake?
Yes! Freeze the layers or the whole frosted cake well-wrapped for up to 2 months.
See You in the Kitchen
I hope you give this red velvet cake a try! It’s rich, velvety, and sure to turn any gathering into something extra memorable. Don’t forget to save this recipe and let me know how your version turns out I always love seeing how others bring it to life!
Happy Cooking!
Print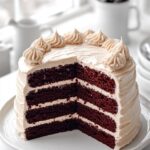
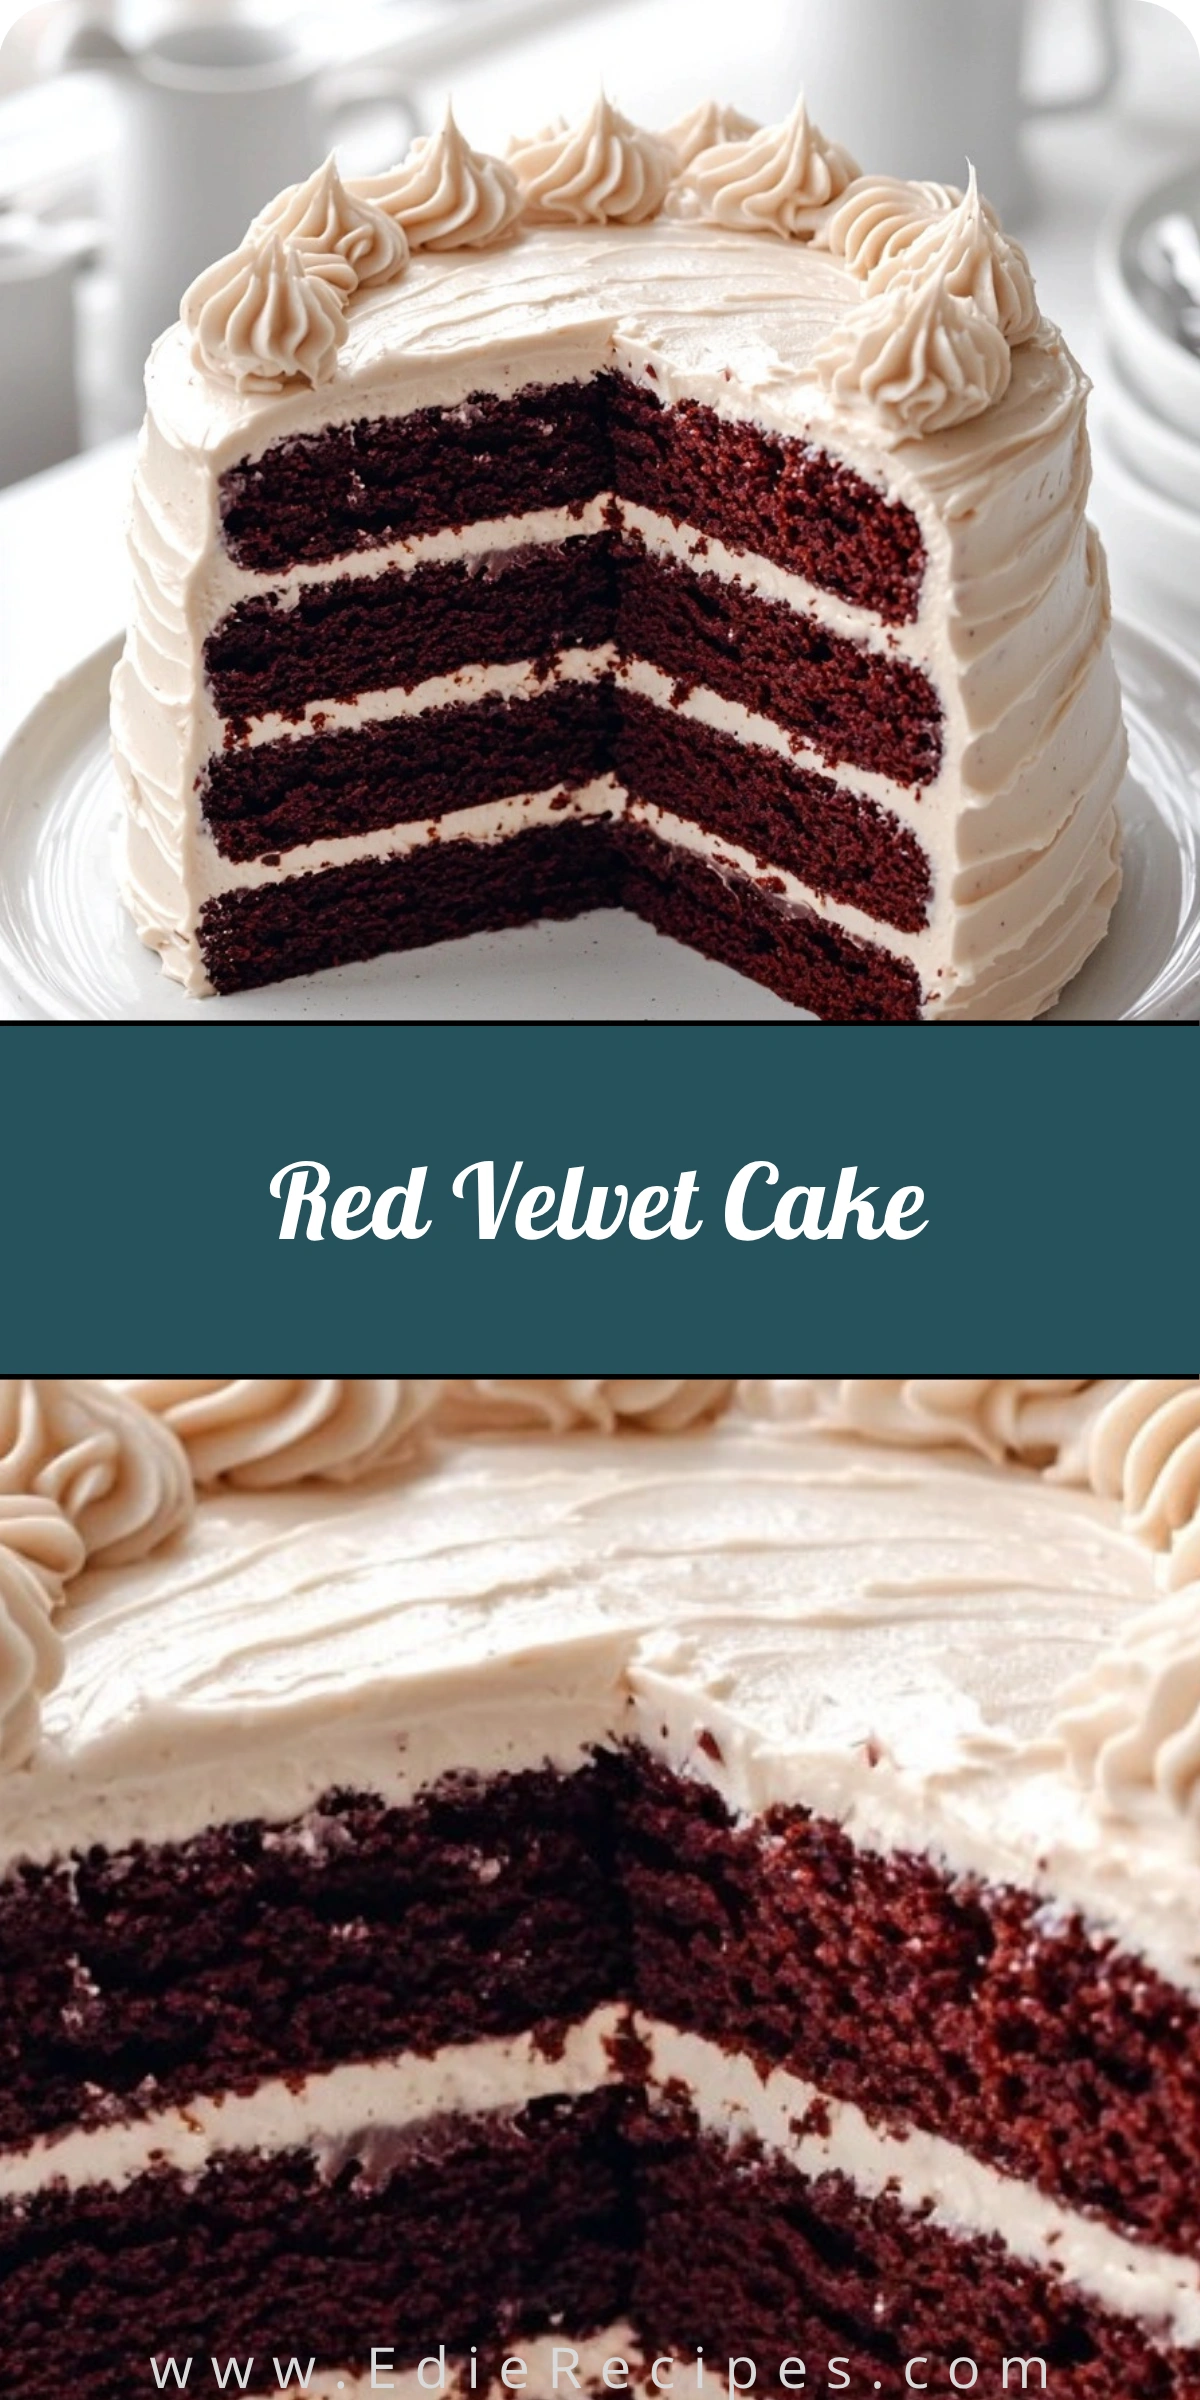
Red Velvet Cake
- Total Time: 50 minutes
- Yield: 12 servings
- Diet: Vegetarian
Description
Looking for the best red velvet cake recipe? This easy and quick version delivers a moist, healthy twist with creamy frosting! Perfect for birthdays, holidays, or weekend bakes. Impress your guests with this simple yet stunning dessert idea!
Ingredients
- 2 1/2 cups all-purpose flour
- 2 tbsp cocoa powder
- 1 tsp baking soda
- 1/2 tsp salt
- 1 1/2 cups sugar
- 1 cup vegetable oil
- 2 large eggs
- 1 cup buttermilk
- 1 tbsp white vinegar
- 1 tbsp red food coloring
- 1 tsp vanilla extract
- 8 oz cream cheese
- 1/2 cup butter
- 3 cups powdered sugar
Instructions
- Preheat oven to 350°F. Grease and line 3 cake pans.
- Mix flour, cocoa powder, baking soda, and salt in a bowl.
- In another bowl, beat sugar, oil, eggs, and vanilla. Add buttermilk and red food coloring.
- Add vinegar, then combine wet and dry ingredients until smooth.
- Divide batter into pans and bake for 25–30 minutes. Cool completely.
- Beat cream cheese and butter until smooth. Add vanilla and powdered sugar until fluffy.
- Frost and layer the cake, decorate as desired.
Notes
- Use gel food coloring for richer color.
- Don’t overmix or overbake the batter.
- Chill before slicing for clean cuts.
- Store in fridge for up to 5 days.
- Prep Time: 20 minutes
- Cook Time: 30 minutes
- Category: Dessert
- Method: Baked
- Cuisine: American