
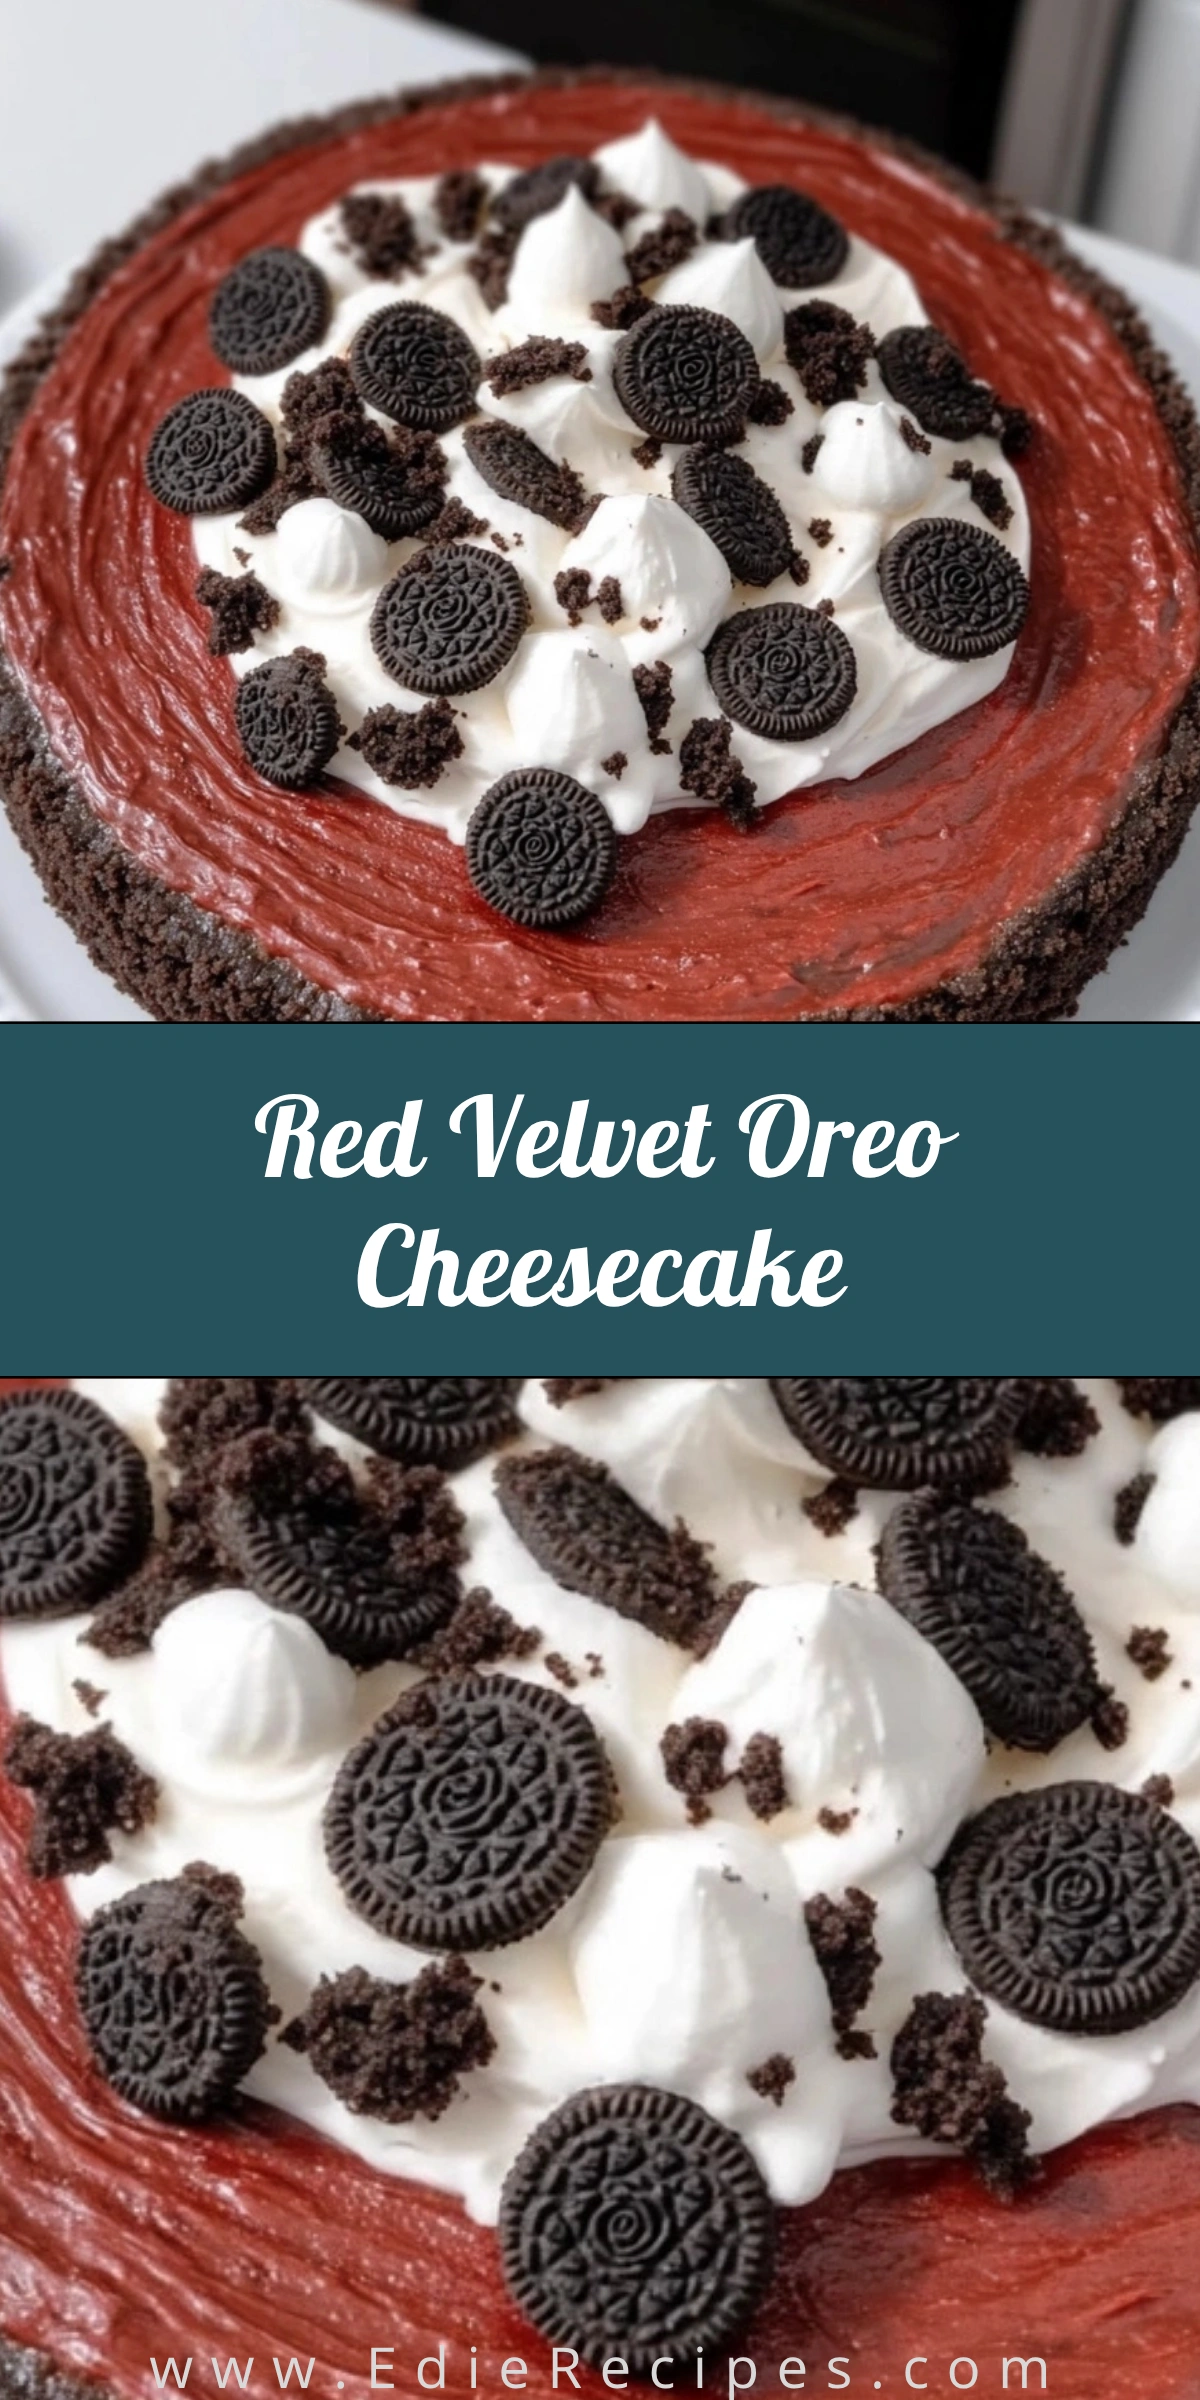
Red velvet Oreo cheesecake was my solution to a dessert dilemma one Valentine’s Day when I couldn’t decide between baking a classic cheesecake or making something chocolaty and fun I ended up blending the two ideas into one vibrant and decadent creation that had my whole family asking for seconds before they even finished their first slice

It’s now my go-to dessert for birthdays anniversaries or any moment that calls for something bold and unforgettable The combination of the smooth red velvet filling the crunchy Oreo crust and the creamy whipped topping always impresses and it’s a breeze to make ahead for special events
Ingredients :

Here’s what I use for this recipe. You can always make substitutions if you prefer!
- Oreos – Crushed finely to form the rich chocolatey crust
- Butter – Binds the crust together and helps it set
- Cream cheese – The creamy tangy base of the cheesecake layer
- Granulated sugar – Sweetens the filling and balances the tang
- Sour cream – Adds silkiness and a slight tang to the texture
- Eggs – Provide structure and help the cheesecake set smoothly
- Cocoa powder – Gives the filling that light chocolatey red velvet flavor
- Red food coloring – For that signature red velvet color
- Vanilla extract – Enhances the depth of flavor
- Whipped topping – Light and airy finishing touch on top
- Mini Oreos and crumbs – For fun decorative crunch and visual appeal
Tools You’ll Need
- Springform pan – Ideal for easy release and clean slices
- Mixing bowls – For combining crust and filling ingredients
- Electric mixer or stand mixer – To beat the filling until smooth and creamy
- Spatula – Helps fold ingredients and scrape every bit from the bowl
- Measuring cups and spoons – Keeps everything accurate and consistent
- Plastic wrap or foil – To chill the cheesecake without drying it out
- Cooling rack – To let the cheesecake cool evenly before chilling
“Cook and bake with love. Taste as you go, and make every recipe your own.”
Instructions
Step 1: Prepare the Crust
I begin by crushing the Oreos into fine crumbs and mixing them with melted butter until the texture is like wet sand I press the mixture firmly into the bottom and slightly up the sides of a greased springform pan then place it in the fridge while I make the filling
Step 2: Make the Filling
In a large bowl I beat the cream cheese and sugar until completely smooth then I mix in the sour cream cocoa powder vanilla extract and red food coloring until combined
Step 3: Add the Eggs
I add the eggs one at a time mixing just until incorporated I’m careful not to overbeat to avoid adding too much air
Step 4: Bake
I pour the filling over the prepared crust and gently tap the pan on the counter to release air bubbles I bake the cheesecake at 325°F for about 50–60 minutes or until the center is just slightly jiggly
Step 5: Cool and Chill
After baking I let the cheesecake cool completely on a wire rack then refrigerate it for at least 4 hours or overnight so it sets fully
Step 6: Decorate
Before serving I spread or pipe whipped topping on the center and decorate with mini Oreos and crushed cookies for a fun and delicious topping
📌 Love Home Recipes? Follow Me on Pinterest!
Join thousands of others for daily Sweet home Recipes and creative ideas.
Follow Me on PinterestTips
Use room temperature cream cheese to avoid lumps in the batter
Don’t overmix the batter once you add the eggs to keep the texture creamy
Let the cheesecake cool slowly to prevent cracking
I often make this a day ahead and decorate just before serving
Ways to Serve
Serve chilled with extra whipped cream or a drizzle of chocolate sauce
Garnish each slice with a whole mini Oreo for a cute presentation
Pair with coffee or milk for a rich and satisfying dessert
Add a dusting of cocoa powder or red velvet crumbs for flair
Frequently Asked Questions
Can I freeze Red Velvet Oreo Cheesecake?
Yes wrap the cooled and undecorated cheesecake tightly and freeze for up to 2 months Thaw in the fridge overnight before serving
What’s the best way to get clean slices of Red Velvet Oreo Cheesecake?
I dip a sharp knife in hot water then wipe it clean between each slice for neat cuts
Can I use store-bought whipped cream instead of homemade?
Absolutely just make sure to add it right before serving for the best look and texture
See You in the Kitchen
I hope you enjoy making and sharing this red velvet Oreo cheesecake as much as I do It’s bold beautiful and guaranteed to stand out at any celebration Don’t forget to snap a picture and let me know how it turned out
Happy Cooking!
Print
Red Velvet Oreo Cheesecake
- Total Time: 1 hour 15 minutes plus chilling
- Yield: 12 slices
- Diet: Vegetarian
Description
Looking for the best red velvet cheesecake idea? This easy Oreo-based cheesecake is rich creamy and stunning Perfect for parties holidays or special dessert nights!
Ingredients
- 24 Oreo cookies (crushed)
- 1/4 cup melted butter
- 3 (8 oz) packages cream cheese, softened
- 1 cup granulated sugar
- 1/2 cup sour cream
- 3 large eggs
- 2 tablespoons cocoa powder
- 1 teaspoon vanilla extract
- 1 tablespoon red food coloring
- Whipped topping for garnish
- Mini Oreos and crushed Oreos for topping
Instructions
- Preheat oven to 325°F and grease a springform pan.
- Mix crushed Oreos and melted butter, press into the bottom of the pan, and chill while making the filling.
- Beat cream cheese and sugar until smooth, then mix in sour cream, cocoa, vanilla, and red food coloring.
- Add eggs one at a time, mixing gently until combined.
- Pour filling into crust and smooth the top.
- Bake for 50–60 minutes until center is slightly jiggly.
- Cool completely then refrigerate for at least 4 hours or overnight.
- Top with whipped cream, mini Oreos, and crushed cookies before serving.
Notes
- Use room temperature ingredients for a smooth filling.
- Chill overnight for best texture and flavor.
- Decorate just before serving for a fresh look.
- Freeze up to 2 months without toppings.
- Prep Time: 20 minutes
- Cook Time: 55 minutes
- Category: Dessert
- Method: Baking
- Cuisine: American